Setup LiF:YO Server on Ubuntu Linux
The Life is Feudal: Dedicated Server application is available for Windows only. Fortunately, you can still run the server on a Linux machine through Wine. This guide shows how to setup a headless LiF:YO Dedicated Server on Ubuntu Linux. It was tested on these versions:
- Ubuntu Server 18.04 LTS
- Ubuntu Server 19.04
- Ubuntu Server 20.04 LTS
You will need a server or virtual machine running Ubuntu, a SSH client and some basic knowledge how to navigate in a Linux environment using a classic command-line interface like Bash.
Before We Begin
Before we start installing stuff on the server, let’s make sure all the OS packages are up to date.
sudo apt update
sudo apt upgrade
If some kernel packages were updated in the process, you’ll want to reboot the server afterwards.
Database Setup
Install MariaDB
First, we’ll install and configure MariaDB on the server.
sudo apt install mariadb-server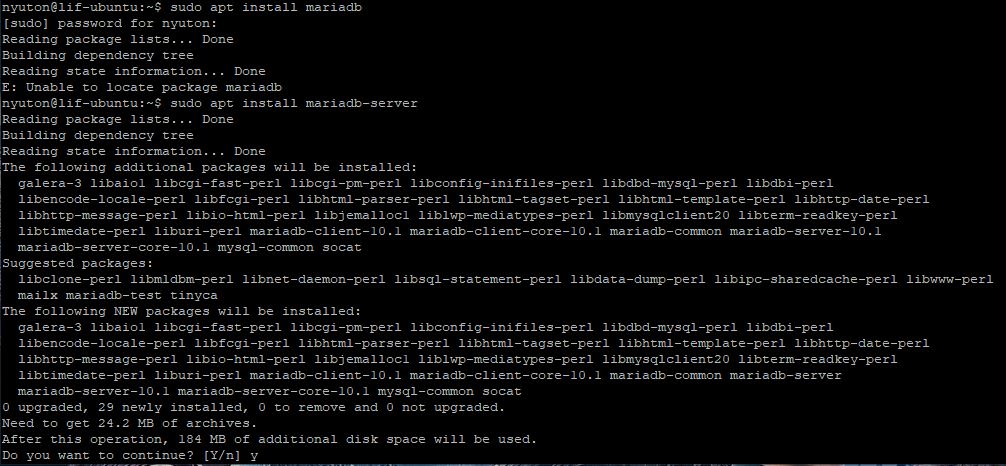
Ubuntu automatically starts the mariadb service and adds it to the system autostart, so you don’t have to worry about this.
Run Configuration Script
Next, run the mysql_secure_installation script.
sudo mysql_secure_installationThe script guides you through the initial setup of the database. You’ll be promted to set a password for the root user and set some options. Each of them should be confirmed with [Y].

Configure MariaDB for YO
Now we’ll set some database options that are required by the LiF server. Create a new file called 90-lifeisfeudal.cnf in /etc/mysql/mariadb.conf.d/ and insert this content:
[mysqld]
innodb_file_per_table=ON
innodb_file_format=Barracuda
innodb_flush_log_at_trx_commit=1
max_sp_recursion_depth=255
max_allowed_packet=10M
query_cache_size=0
query_cache_type=OFF
Then restart the mariadb service:
sudo systemctl restart mariadbCreate Database User
For security reasons and due to the fact that this version of MariaDB uses unix-socket authentication for the root user by default (which is not suitable for LiF), we’ll create a dedicated database user for the YO server.
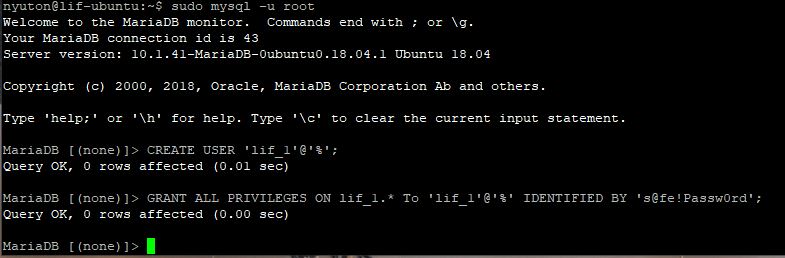
Login to the database through CLI:
sudo mysql -u rootNow that we can query the database, let’s create a user with the same name as the future gameserver database (lif_1) with a safe and complex password. Then grant it all access to the database.
CREATE USER 'lif_1'@'%';
GRANT ALL PRIVILEGES ON lif_1.* To 'lif_1'@'%' IDENTIFIED BY 's@fe!Passw0rd';
exit
Make sure to change the s@fe!Passw0rd to something else.
Now we should be able to connect to it without sudo. To test connection, use the mysql command with the lif_1 user and password authentication:
mysql -u lif_1 -p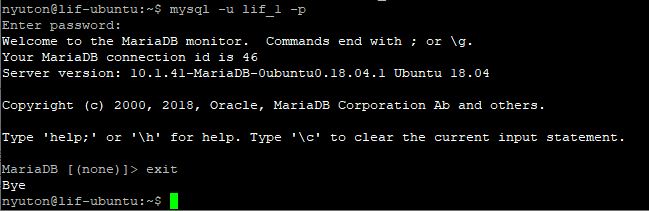
If this works, database setup is complete and secured. Do NOT create the YO database yourself yet. The gameserver takes care of that itself.
Gameserver Setup
Install Required Packages
To install and run the YO server, we’ll need to install some software first. Wine, xvfb and winbind is required to start the YO server eventually. To download and install it, we’ll need SteamCMD too. Since SteamCMD for Ubuntu 18.04 is available in the 32-Bit repository only, we have to add the i386 architecture to apt beforehand.
sudo dpkg --add-architecture i386
sudo apt update
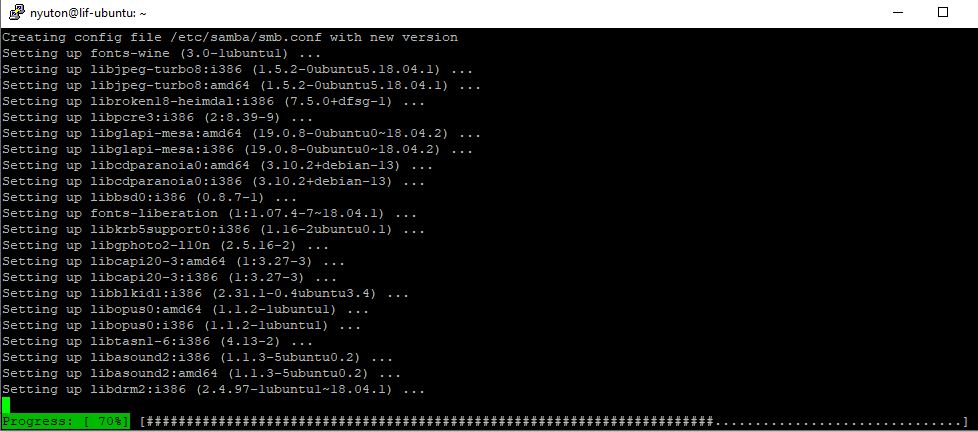
sudo apt install wine-stable winbind steamcmd xvfb
This downloads and installs a whole bunch of packages on the system.
Accept the license agreement for SteamCMD when you are promted for it (TAB, RETURN).
Create a User
You never want to run wine applications as the root user or on privileged (sudo-enabled) accounts. So we will create a new, unprivileged Linux user for the gameserver and switch to it.
sudo adduser lif_1

su - lif_1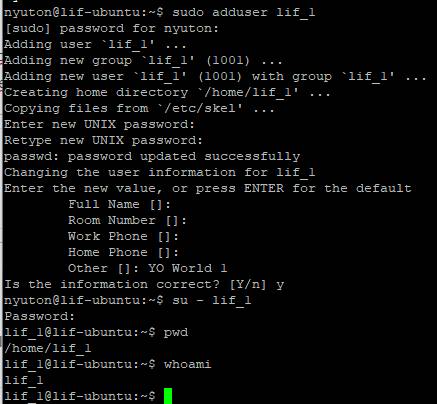
Gameserver Installation
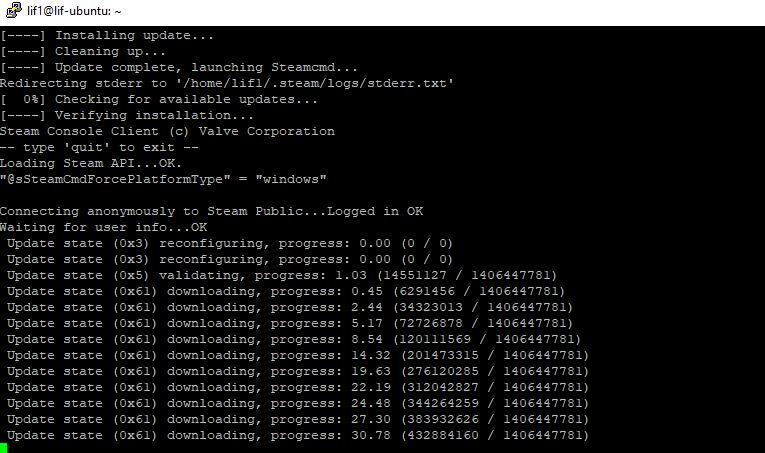
As the new gameserver user (lif_1 in this case), run this SteamCMD command:
steamcmd +@sSteamCmdForcePlatformType windows +login anonymous +force_install_dir ~/yoserver +app_update 320850 validate +exitThis command forces the SteamCMD tool to download Windows files despite running on Linux. It connects to the Steam Cloud anonymously and downloads the AppID 320850 (YO dedicated server). It then installs the LiF:YO dedicated server to the ~/yoserver/ path of the home directory. We don’t want to use the default path since it would create the gameserver folder with spaces in its name, which makes things complicated on Linux.
Whenever you want to update the server after an official patch release, just run this command again.
We can now cd into the gameserver folder to view the files and make our changes to the server configs:
cd ~/yoserver
ll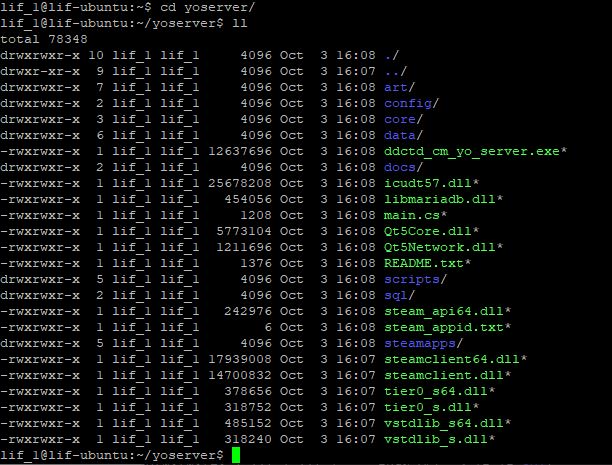
World Setup
Now this part is no different from Windows.
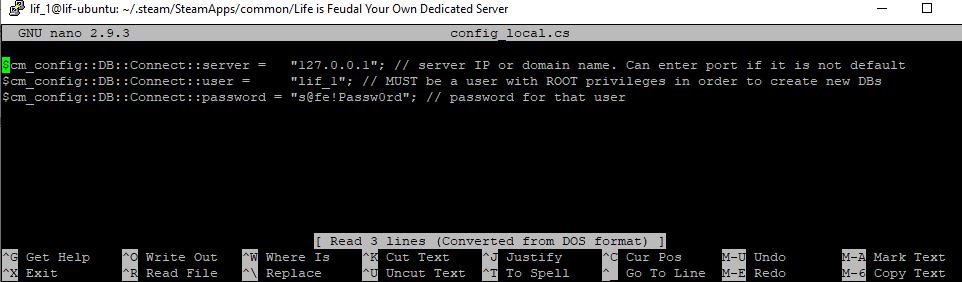
- Copy the docs/config_local.cs in the main directory and fill in your database access information.
- Customize config/world_1.xml with the world settings you like.
Launch Gameserver
Now let’s test if the server is working. We’ll start it in nohup and fake a window manager using xvfb-run.
nohup xvfb-run wine ddctd_cm_yo_server.exe -worldid 1 &You can watch progress in the logfile. It’s located in the logs directory, in a subfolder with the current date.
Let’s tail the newest logfile to see live progress:
tail -f `find logs -type f -printf '%T@ %p\n' | sort -n | tail -1 | cut -f2- -d" "`
As long as things are moving in the logfile and the gameserver or database process consumes some CPU, it’s all good. Note that the first startup of a freshly installed server may take a couple of minutes.
Once it’s up and running, you can connect to it using IP and the port specified in the world XML (default: 28000) or find it in the serverlist.
Advanced Configurations
Create a Service Unit
Starting the server through nohup manually is nice for testing, but in a stable (let’s call it semi-professional) environment we want to manage the gameserver as a regular system service with simple start and stop commands.
So let’s create a system-wide service for systemd. You will have to switch user to a privileged account with sudo for this.
Create a service file in /etc/systemd/system/ like so:
sudo vi /etc/systemd/system/lif_1.serviceAdd this systemd unit configuration:
[Unit]
Description=Life Is Feudal Dedicated Server (World 1)
After=mariadb.service

[Service]
Type=simple
User=lif_1
Group=lif_1
ExecStart=/usr/bin/xvfb-run /usr/bin/wine /home/lif_1/yoserver/ddctd_cm_yo_server.exe "-worldid 1"

[Install]
WantedBy=default.target
Then reload the systemd configuration:
systemctl daemon-reloadNow we can manage and monitor the gameserver with systemctl commands:
sudo systemctl start lif_1
sudo systemctl status lif_1
sudo systemctl stop lif_1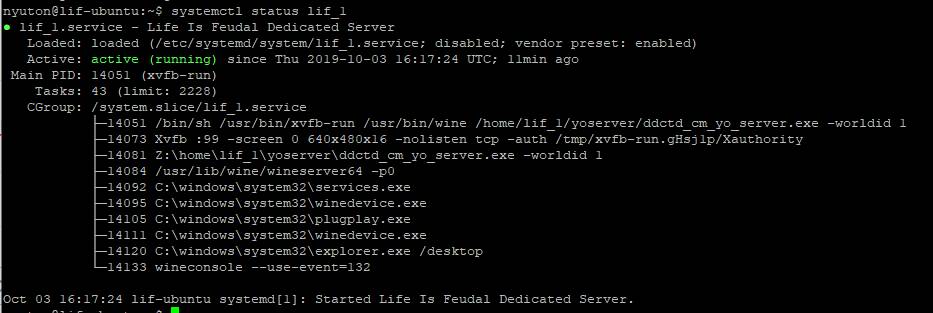
We can also enable this service for autostart. It’ll then be launched whenever the server boots up:
sudo systemctl enable lif_1Telnet Console Access
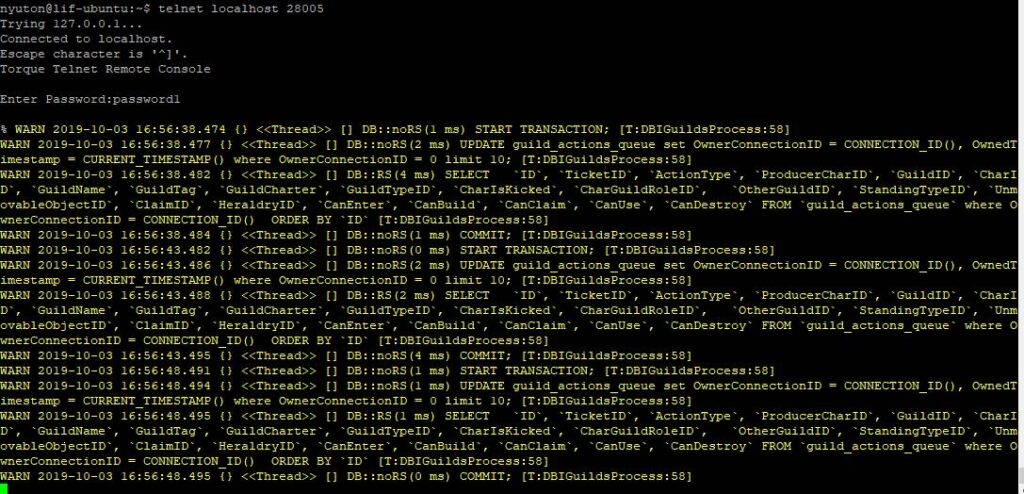
This is purely optional. If you really need direct access to the gameserver console, you can do this though telnet. The LiF:YO server has a function to open a telnet socket which you can connect to, either locally or from your home machine.
In this example we’ll setup a local telnet socket.
Open the main.cs file in the yoserver directory and append these two lines to the end of it:
$telnet::bindAddress = "127.0.0.1";
telnetSetParameters(28005, "consolePass", "readOnlyPass", "writeOnlyPass", false);
I’m using 28005 as the telnet port in this example, because I’ve used 28000 for the gameserver. You can basically use any free/unused from port between 1024 and 65536, but it’s a good idea to keep it close to the gameserver port. Especially if you’re planning to host multiple server instances. Replace the “consolePass” with a password of your choice and save the file. Then restart the server:
sudo systemctl restart lif_1After the server is booted up again, you should be able to connect to the telnet socket using the telnet command:
telnet localhost 28005