Setup LiF:YO Server on Windows
This guide shows how to setup a Life is Feudal: Your Own Dedicated Server on a Windows Server of the following versions:
- Windows Server 2012 R2
- Windows Server 2016
- Windows Server 2019
- Windows 7
- Windows 8.1
- Windows 10
Database Setup
Install MariaDB
Download the latest MariaDB 5.5 Release from https://downloads.mariadb.org/. You’ll want to grab the winx64.msi package.
MariaDB version 5.5 is the recommended version for LiF:YO. But take note that the maintenance (security patches) for 5.5 ends in April 2020. You may want to grab a newer version beyond that date. There are no known compatibility issues with 10.3 so far. (That doesn’t mean there really are none).
Run the downloaded MSI setup to install the database service on your Windows server. Don’t modify the set of features. Use the default selection.
You will be prompted for a root password. Choose a safe and complex password. If you want to add this server to the FeudalTools Server Manager later on, activate “Enable acces from remote machines for root user” as well, like shown in the screenshot.
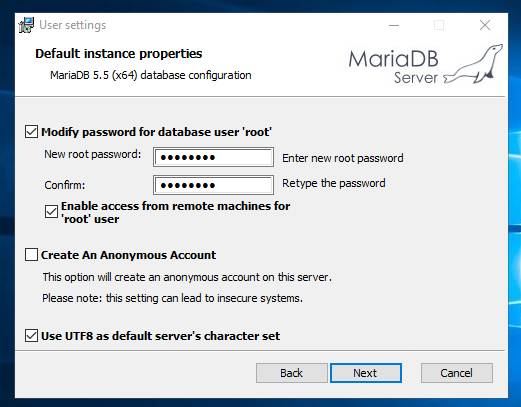
Leave the rest of the installation dialog as default. Click next until the installation is finished.
Configure MariaDB for LiF:YO
Now we’ll set some MariaDB options required by the LiF:YO server. Navigate into the data folder of the MariaDB installation directory (C:\Program Files\MariaDB 5.5\data) and open a file called my.ini in a text editor.
Make sure the [mysqld] section contains all these options listed below. Add all missing lines like (basically, merge them with the existing one) like shown in the screenshot.
[mysqld]
default_storage_engine=innodb
character-set-server=utf8
innodb_file_per_table=ON
innodb_file_format=Barracuda
innodb_flush_log_at_trx_commit=1
max_sp_recursion_depth=255
max_allowed_packet=10M
query_cache_size=0
query_cache_type=OFF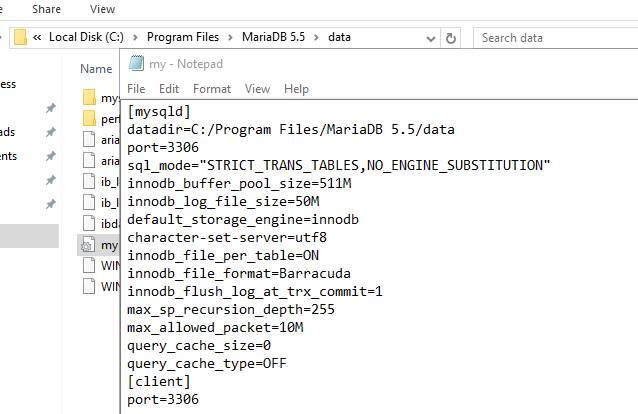
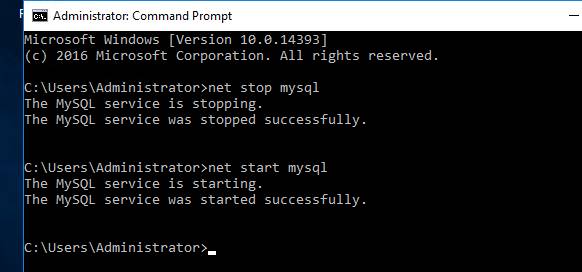
After that, restart the database service. This can be done using the services.msc console, using “net stop mysql” and “net start mysql” in the command-line or simply by rebooting the whole machine.
Gameserver Setup
SteamCMD Download
Download SteamCMD for Windows from here: https://developer.valvesoftware.com/wiki/SteamCMD
Direct Download: https://steamcdn-a.akamaihd.net/client/installer/steamcmd.zip
This zip file contains steamcmd.exe.
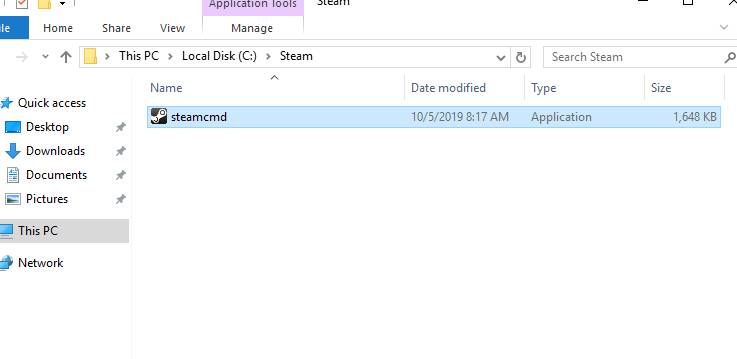
Create a new directory like C:\Steam\ and extract the steamcmd.exe into that path.
Gameserver Installation
Now run (double click) the steamcmd.exe. It will download some files and update itself. After it’s done, you’ll have a Steam> command prompt.
Run these two commands in sequence:
login anonymous
app_update 320850 validate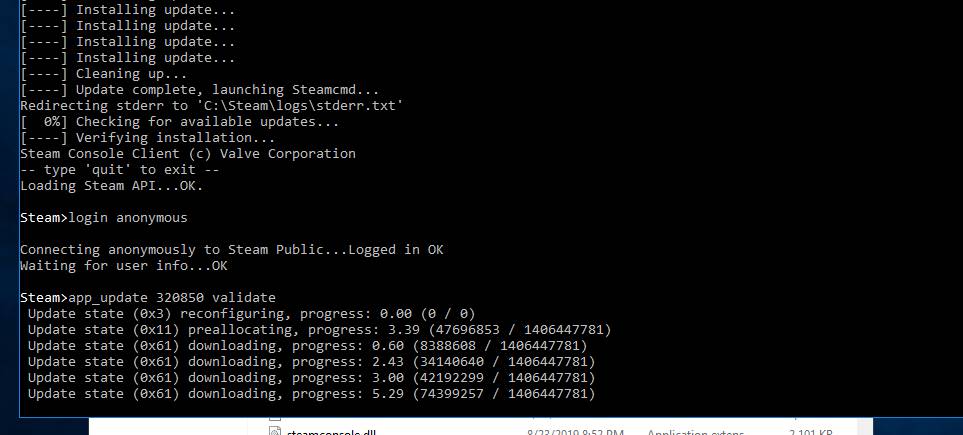
This logs in to the Steam Cloud anonymously and downloads the LiF:YO Gameserver. SteamCMD installs it to the “steamapps/common/Life Is Feudal Your Own Dedicated Server/” subdirectory. Close the window after it’s installed successfully.
Whenever you have to update your server after an official patch release, just repeat those two commands in steamcmd.
Navigate into the server installation folder now, which would be C:\Steam\steamapps\common\Life Is Feudal Your Own Dedicated Server\ in this example.
Copy the config_local.cs file from the docs folder into the main directory and open it in a text editor. Fill in your database access credentials. Presumably just setting the correct password for the root user.
World Setup
Edit the world_1.xml file in the config folder and customize it at your discretion.
Run the ddctd_cm_yo_server.exe to test your server now.
If you are greeted with error messages of DLL files missing, you are missing some Microsoft Visual C++ Redistributable packages. Try installing the x64 version of the 2015 Redistributable from here: https://www.microsoft.com/en-us/download/details.aspx?id=48145
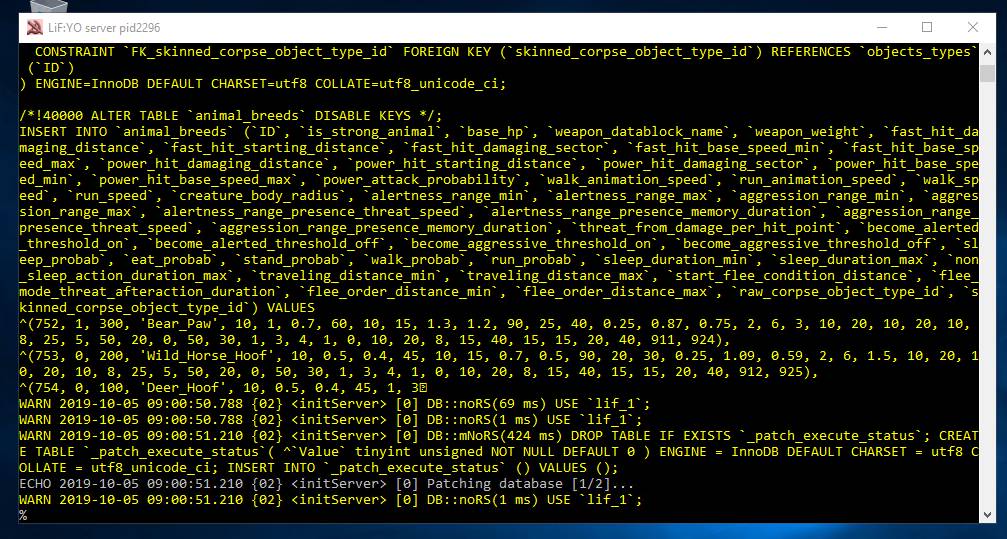
Once the server is started up (may take a couple of minutes) you can try to join it in-game.